
How to Automate Your Email Responses with Microsoft Outlook Rules
In the digital workplace, managing email efficiently is essential to staying productive and organized. For many professionals, a significant portion of the workday is consumed by reading, sorting, and responding to emails. While manual handling of emails may work when volume is low, it quickly becomes unsustainable as the number of daily messages grows. Fortunately, Microsoft Outlook offers a powerful feature—Rules—that can automate repetitive tasks and streamline your inbox management.
Outlook Rules allow users to set up custom conditions that automatically perform actions such as moving emails to specific folders, flagging them, categorizing messages, forwarding them to team members, or even sending automated replies. By using these rules strategically, individuals and teams can reduce manual effort, avoid missing important emails, and improve overall response time. For example, customer support teams can use rules to automatically sort incoming queries by priority or department, while executives can filter newsletters or low-priority updates to review later.
Learning how to create, manage, and optimize these rules in Outlook can transform how you handle email communication. Whether you’re a solo entrepreneur trying to stay on top of client communications or a corporate user managing internal and external correspondence, automating your email responses with Outlook Rules can help reclaim valuable time and reduce inbox fatigue.
In this blog, we will walk through the steps to create and use Microsoft Outlook Rules effectively, share best practices, and explore real-world scenarios where automation can significantly enhance your workflow and productivity.
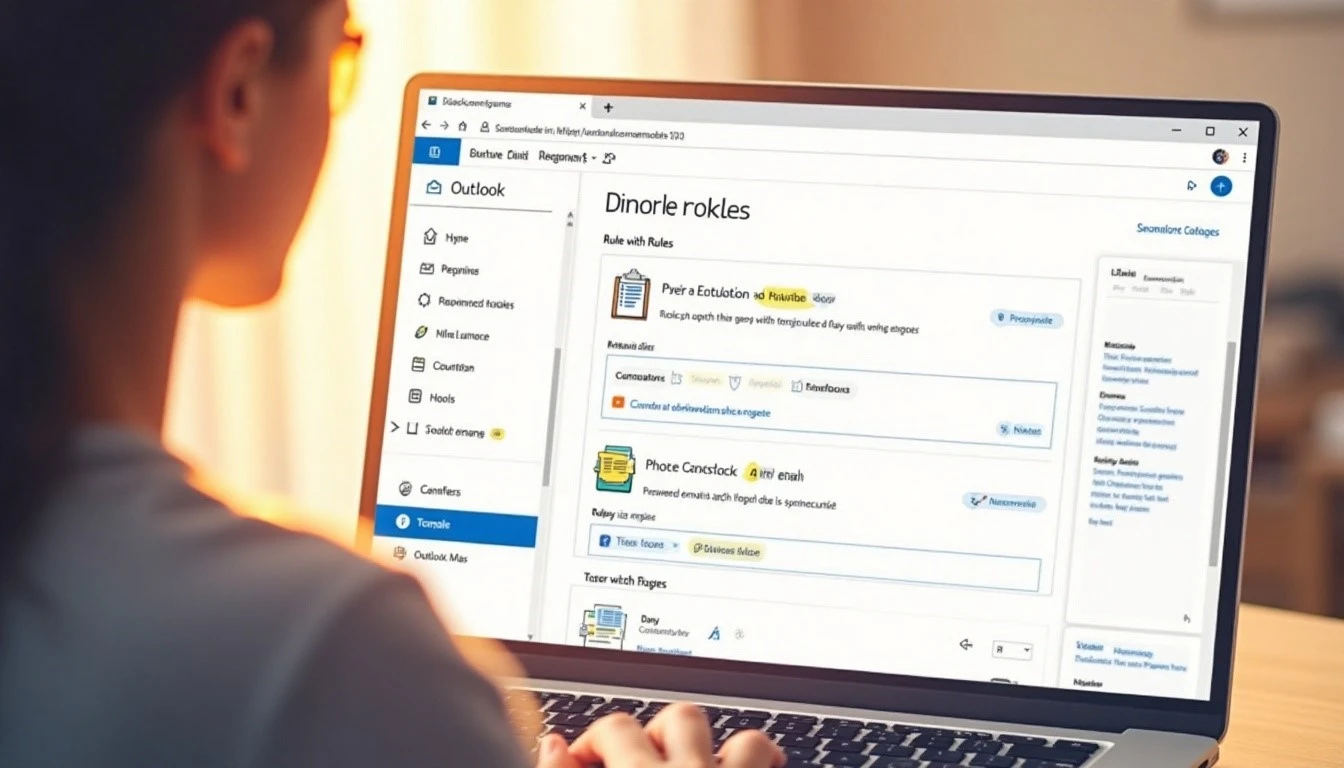
9 ways to automate your email responses using Microsoft Outlook Rules.
1. Send an Automatic Reply Based on Sender or Subject
Suppose you’re part of a support team and frequently receive emails with the subject line “Support Request.” You want Outlook to automatically send a response acknowledging receipt.
How to Do It:
- Go to Home > Rules > Manage Rules & Alerts.
- Click New Rule.
- Under Start from a blank rule, select Apply rule on messages I receive.
- Click Next and choose conditions such as with specific words in the subject.
- Enter “Support Request” and click OK.
- Choose reply using a specific template.
- Create a reply template (e.g., “Thank you for reaching out. We’ve received your request and will respond shortly.”) and save it as an Outlook Template (.oft).
- Select your template and complete the rule.
Each time you receive an email with “Support Request” in the subject, Outlook sends the predefined reply automatically.
2. Move Emails from Specific Senders to Designated Folders
You regularly receive newsletters from a specific sender (e.g., [email protected]) and want them moved out of your main inbox.
How to Do It:
- Navigate to Rules > Manage Rules & Alerts > New Rule.
- Choose Move messages from someone to a folder.
- Select the sender (e.g., [email protected]).
- Choose or create a folder (e.g., “Newsletters”).
- Click Finish.
All future emails from that sender bypass your inbox and land directly in the selected folder, keeping your primary inbox clutter-free.
3. Flag Emails for Follow-Up Automatically
Emails from your manager need prompt attention, so you want them automatically flagged for follow-up.
How to Do It:
- Go to Rules > Manage Rules & Alerts > New Rule.
- Select Apply rule on messages I receive.
- Choose from people or public group, then add your manager’s email.
- In the next step, check flag message for follow up at this time and set a time frame (e.g., Today or Tomorrow).
- Complete the rule setup.
Every email from your manager gets automatically flagged, ensuring you’re reminded to take timely action.
4. Assign Categories to Emails Automatically
Let’s say you’re managing multiple projects and want all emails containing “Project Phoenix” in the subject line to be categorized automatically.
How to Do It:
- Go to Home > Rules > Manage Rules & Alerts.
- Click New Rule, and select Apply rule on messages I receive.
- Click Next, then choose with specific words in the subject.
- Enter the keyword, e.g., Project Phoenix, and click OK.
- Click Next, then select assign it to the category category.
- Choose or create a new category (e.g., Phoenix Project).
- Finish the rule.
Any incoming email with “Project Phoenix” in the subject will be auto-categorized, helping you visually organize and sort messages more efficiently.
5. Forward Specific Emails to Another Recipient
You’re going on vacation, and you want any email from your top client to be forwarded to your colleague for timely handling.
How to Do It:
- Go to Home > Rules > Manage Rules & Alerts.
- Click New Rule, and select Apply rule on messages I receive.
- Choose from people or public group, and select the client’s email.
- On the next screen, choose forward it to people or public group.
- Select your colleague’s email address.
- Finish the rule.
When an email arrives from that client, Outlook will automatically forward it to your designated colleague, ensuring prompt attention.
6. Mark Emails as Read When They Meet Certain Criteria
You’re part of a mailing list that sends daily updates you want to keep but don’t need to read immediately. Automatically marking them as read saves time.
How to Do It:
- Go to Home > Rules > Manage Rules & Alerts.
- Click New Rule, and select Apply rule on messages I receive.
- Select a condition such as with specific words in the sender’s address.
- Enter the mailing list domain or sender email.
- Choose the action mark it as read.
- Complete the rule.
Emails from that mailing list are automatically marked as read, keeping your inbox looking cleaner without losing the messages.
7. Delete or Archive Emails Based on Keywords
You receive many promotional emails with “Sale” or “Discount” in the subject line and want them automatically deleted or archived.
How to Do It:
- Go to Home > Rules > Manage Rules & Alerts.
- Click New Rule, and choose Apply rule on messages I receive.
- Select with specific words in the subject.
- Enter words like Sale, Discount, Offer, etc.
- Choose delete it or move it to the specified folder (e.g., Archive or Promotions).
- Finish the rule.
All promotional emails are automatically deleted or moved out of your main inbox, saving you the effort of manually sorting them.
8. Play a Sound or Display Alerts for Important Emails
Suppose you’re waiting for time-sensitive feedback from your manager. You want to be instantly notified the moment their email arrives.
How to Do It:
- Go to Home > Rules > Manage Rules & Alerts.
- Click New Rule, and select Apply rule on messages I receive.
- Choose from people or public group and select your manager’s email address.
- In the next step, choose play a sound and display a Desktop Alert.
- Select a sound file (e.g., .wav file) stored on your computer.
- Finish and apply the rule.
Whenever your manager sends you an email, Outlook will play your chosen alert sound and pop up a desktop notification so you never miss it—even if you’re not actively watching your inbox.
9. Apply Templates for Automated Responses
You’re frequently out of office on client visits. You want to automatically reply to emails with a specific message informing senders of your schedule and when you’ll respond.
How to Do It:
- First, create a reply template:
- Go to New Email, type your message (e.g., “I’m currently away on client visits and will respond by 3 PM.”).
- Click File > Save As, choose Outlook Template (.oft), and save it.
- Then set the rule:
- Go to Home > Rules > Manage Rules & Alerts > New Rule.
- Choose Apply rule on messages I receive, and select the conditions (e.g., all emails or specific senders).
- Choose reply using a specific template.
- Select the template you saved.
- Complete the rule.
Outlook will send an automated, personalized reply using your template when the conditions are met, saving time and setting clear expectations for senders.
10. Auto-Respond to Meeting Requests or Calendar Invites
You’re managing a shared calendar and want to confirm meeting invites automatically with a standardized message (e.g., “Thank you for the invite. I will review and confirm shortly.”).
How to Do It: Outlook doesn’t natively support fully automated responses to meeting invites via Rules alone. However, you can manage this using Quick Steps or VBA scripting for more advanced scenarios. Here’s a basic workaround using Quick Steps:
- Go to Home > Quick Steps > New Quick Step > Custom.
- Name the Quick Step (e.g., Reply to Meeting Invite).
- Choose Reply or Reply All, then prefill your response message.
- Save the Quick Step.
How to Use:
- When a meeting invite arrives, click your custom Quick Step to instantly reply with your template message.
While not fully automatic, this method greatly speeds up your response process and maintains professionalism with consistent replies.
Conclusion
Automating your email responses using Microsoft Outlook Rules is a powerful way to streamline communication, save time, and stay organized. By setting up targeted rules, you can ensure that important emails are never missed, routine tasks are handled without manual intervention, and your inbox remains clutter-free.
Whether it’s sending auto-replies, categorizing emails, moving them to designated folders, or flagging messages for follow-up, Outlook Rules provide a high level of customization to suit your workflow. This automation not only enhances productivity but also improves response time and helps maintain professionalism in communication. As email volumes continue to rise in professional settings, leveraging Outlook’s built-in automation features can significantly reduce the stress of managing your inbox.
With just a few clicks, you can create a system that works for you—ensuring that your focus stays on what truly matters, while Outlook takes care of the routine. Start small, refine over time, and experience the benefits firsthand.
